Easy DIY Potholders: 5 Simple Patterns to Make at Home

Are you tired of using old or dull potholders in your kitchen? Making your own stylish and useful potholders is simpler than you might think. I’ll show you five easy potholder patterns you can make at home with basic sewing skills and materials.
These simple sewing projects are great for crafters of all levels who want to add a personal touch to their kitchen. By making your own potholders, you can pick fabrics and colors that fit your kitchen’s look. Plus, they make wonderful and useful gifts for friends and family who enjoy cooking or baking.
So, let’s get our materials ready and start making some beautiful and practical potholders. They’ll make your kitchen time even more fun!
Key Takeaways
- Learn five easy potholder patterns suitable for beginners
- Customize your kitchen accessories with handmade potholders
- Use basic sewing skills and materials to create functional and stylish potholders
- Express your unique style by choosing fabrics and colors that match your kitchen décor
- Create thoughtful and practical handmade gifts for friends and family who love to cook or bake
Why Make Your Own Potholders?
I love crafting and cooking, and making my own potholders is a big part of that. It’s not just about protecting my hands from hot dishes. It’s also a chance to be creative and make my kitchen feel more personal.
Creating your own potholders is a smart way to save money. With just a few materials and some basic sewing, you can make potholders that fit your style. You can pick from many fabrics, colors, and patterns to make them truly special.
Cost-Effective and Customizable
DIY potholders are a great way to save money. Instead of buying potholders that might not match your kitchen, you can make your own. This way, you can make lots of potholders without spending a lot.
Also, making your own potholders lets you customize them. You can choose fabrics that match your kitchen’s colors or add your favorite patterns. This makes your potholders not just useful but also a part of your personal style.
Perfect for Beginners
If you’re new to sewing or crafting, potholders are a great place to start. They’re small and practical, making them perfect for learning and improving your skills. Most patterns are simple, even for beginners.
Working on potholders helps you practice basic sewing skills. You’ll learn to cut fabric, sew seams, and add binding. These skills will help you with more complex projects later. Plus, using a potholder you made yourself is incredibly satisfying.
Gathering Essential Materials and Tools
Before starting your potholder project, make sure you have all the right materials and tools. Having everything ready will make the process easier and more fun. Here’s what you’ll need:
- Fabric: Pick a heat-resistant fabric like cotton, linen, or a mix of both. Stay away from synthetic materials that can melt or burn.
- Batting: Choose a thick batting like cotton or wool to keep your hands safe from heat.
- Thread: Use a strong, good-quality thread that goes well with your fabric.
- Scissors: Have sharp scissors just for cutting fabric to get clean, sharp edges.
- Sewing machine: A sewing machine will make your work faster and easier, even if you can sew by hand.
You might also want to have these extra items:
| Optional Materials | Purpose |
|---|---|
| Pins | To keep fabric layers together while sewing |
| Fabric marker or chalk | For marking fabric measurements or designs |
| Ruler or measuring tape | To get accurate measurements and straight lines |
| Iron and ironing board | For pressing seams and making edges crisp |
The materials you need might change a bit based on the potholder pattern you pick. As we go through each pattern, I’ll give more details on what you’ll need and any special tips.
Now that you have your materials and tools ready, you’re all set to start making potholders. Let’s get into the first pattern and begin!
The Classic Square Potholder Pattern
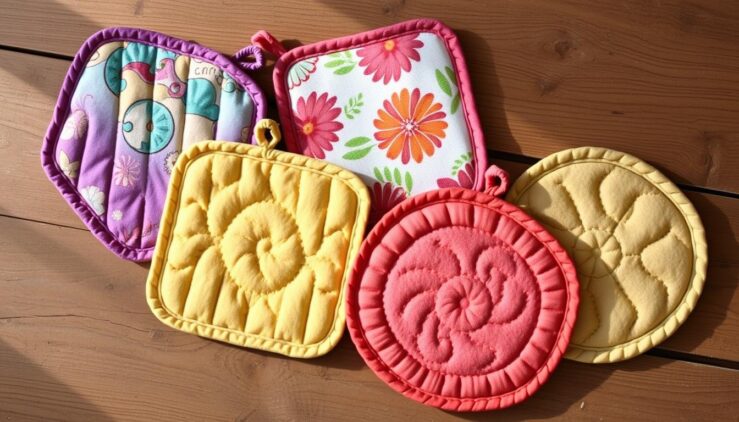
The classic square potholder is a timeless design that every home crafter should master. It’s simple and versatile, making it perfect for beginners. Here’s how to make your own insulated and stylish square potholder.
Step-by-Step Instructions
To make a classic square potholder, you’ll need two fabric squares, binding tape, and insulated batting. Follow these easy steps:
- Cut two 8-inch squares from your chosen fabric.
- Place the squares right sides together and sew around the edges, leaving a small opening for turning.
- Trim the corners and turn the potholder right side out.
- Insert the insulated batting and hand-stitch the opening closed.
- Attach the binding tape around the edges for a neat finish.
With just a few simple steps, you’ll have a functional and attractive potholder ready for use in your kitchen.
Variations and Embellishments
Once you’ve mastered the basic square potholder, it’s time to explore some variations and embellishments. Consider adding a layer of quilted fabric for extra heat protection and a decorative touch. You can also experiment with applique designs, such as fruits, flowers, or geometric shapes, to personalize your potholders.
I love adding a pop of color to my potholders with fun applique designs. It’s an easy way to make them unique and match my kitchen decor.
Don’t be afraid to mix and match fabrics, colors, and patterns to create a set of potholders that reflects your personal style. With a little creativity, the possibilities are endless!
Crocheted Round Potholder Pattern
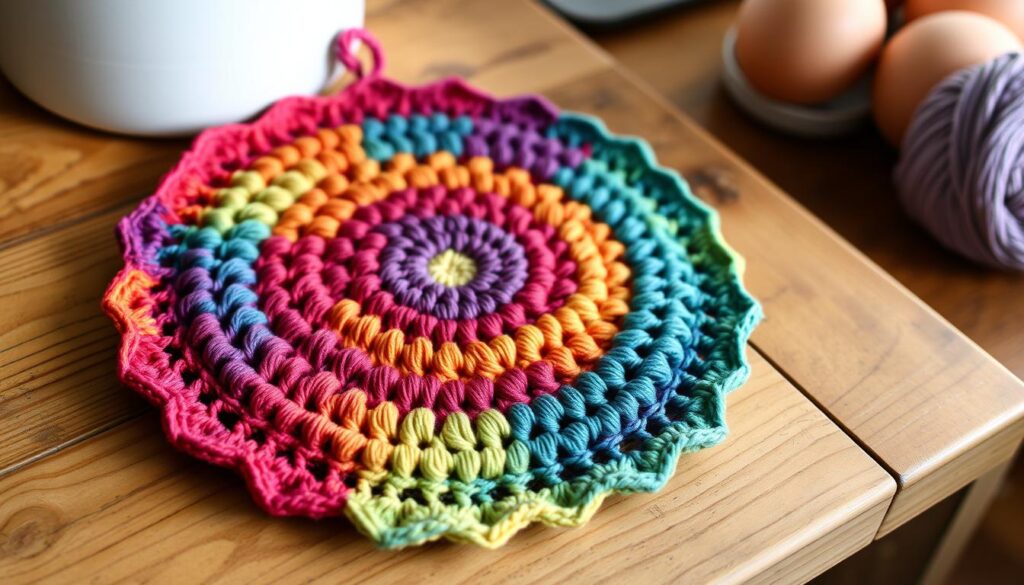
Looking for a unique potholder design? Try crocheting a round potholder. It’s great for beginners wanting to learn more and make something useful. With basic stitches and colorful cotton yarn, you’ll make a beautiful potholder quickly.

Working with Yarn
Choosing the right yarn is key for a round potholder. Use a durable, heat-resistant cotton yarn. It should be thick enough to protect your hands but not too bulky.
Make sure you have the right crochet hook size for your yarn. A size H (5.0 mm) or I (5.5 mm) hook works well with most medium-weight cotton yarns. Check the yarn label for the best hook size.
Creating the Perfect Circle
To make a round potholder, start with a small circle and then grow it in rounds. Here’s a simple stitch pattern to start:
- Round 1: Make a magic ring, chain 2, and work 6 single crochet stitches into the ring. Pull the ring tight and slip stitch to join.
- Round 2: Chain 2, then work 2 double crochet stitches into each stitch around. Slip stitch to join.
- Round 3: Chain 2, then work *1 double crochet into the first stitch, 2 double crochet into the next stitch; repeat from * around. Slip stitch to join.
Keep adding stitches evenly to keep the circle flat. Try different stitches like half double crochet or treble crochet for unique looks.
Keep your stitches even and your tension consistent. This will make your potholder flat and look professional.
With practice, you’ll make beautiful round potholders. They’ll add a handmade touch to your kitchen. Feel free to experiment with colors and patterns to make each one special.
Quilted Trivet Potholder Pattern
Making a quilted trivet potholder is a fun project. It lets you show off your creativity and protect surfaces from hot dishes. By layering fabric and batting, you make a heat-resistant potholder. It’s both useful and adds beauty to your kitchen.
To start, get your materials:
- Two pieces of cotton fabric (6 inches square)
- One piece of cotton batting (6 inches square)
- Thread
- Scissors
- Sewing machine
Now, follow these steps:
- Put one fabric piece right side up, then add the batting, and finally the second fabric right side down.
- Pin it all together and sew around the edges, leaving a small opening.
- Trim the corners and turn the potholder right side out through the opening.
- Press it flat, tucking in the seam at the opening.
- Topstitch around the edges to close the opening and add a decorative touch.
To make your potholder even better, add decorative stitching. You can do a simple grid or try more complex designs. Here are some ideas:
| Stitch Pattern | Description |
|---|---|
| Diagonal lines | Sew parallel diagonal lines across the potholder for a modern look. |
| Concentric squares | Create a series of nested squares with your stitching for a classic quilted effect. |
| Free-motion embroidery | Use your sewing machine’s free-motion setting to create unique designs or patterns. |
The secret to a great quilted trivet potholder is even layering and secure stitching. With practice and patience, you’ll make beautiful and useful potholders. They’ll impress everyone.
Upcycled Denim Potholder Pattern
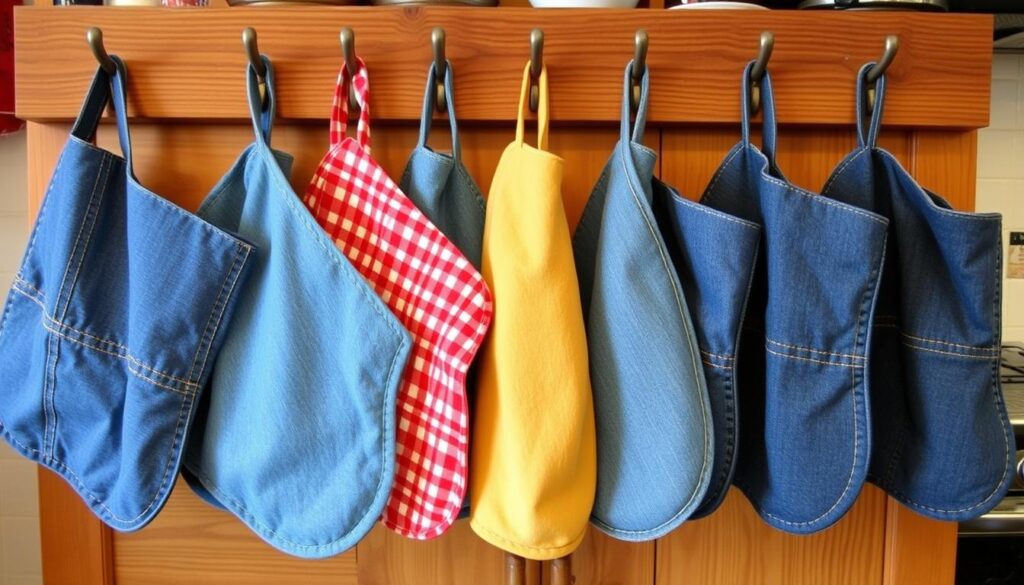
Looking for a creative way to reuse old jeans? Try making an eco-friendly potholder. It’s durable, stylish, and protects your hands from hot dishes. Plus, it adds rustic charm to your kitchen.

Preparing the Denim
To start, gather your materials:
- Old jeans
- Scissors
- Ruler
- Fabric marker
- Pins
- Sewing machine and thread
First, cut the jeans into squares or rectangles. I like 6-inch squares for most potholders. Don’t worry about frayed edges or small flaws. They make the potholder more rustic.
Assembling the Layers
Now, cut your denim pieces. Then, assemble the layers:
- Place two denim squares together, right sides out.
- Pin them to keep them in place.
- Sew around the edges, leaving a small opening.
- Trim excess fabric and turn the potholder right-side out.
- Press it flat with an iron, tucking in the opening.
- Topstitch around the potholder to close the opening and add a decorative touch.
For extra heat resistance, add cotton batting or insulated fleece between the denim layers. This makes the potholder thicker and more durable, perfect for hot dishes.
The beauty of upcycling denim is that each potholder has its own story.
By upcycling your jeans into eco-friendly potholders, you reduce waste. You also create a functional, stylish kitchen accessory that will last for years.
Double-Sided Potholder Pattern
Take your potholder game to the next level with this versatile double-sided design. Choose complementary fabrics to create a reversible potholder. This lets you switch up the look whenever you like. It’s perfect for showcasing your favorite contrasting prints or colors.
To get started, pick two coordinating fabric pieces. Make sure they are large enough for your desired potholder size, plus seam allowances. Pair a bold pattern with a solid color or mix two complementary prints for an eye-catching effect.
Choosing Complementary Fabrics
When selecting fabrics for your double-sided potholder, keep these tips in mind:
- Opt for 100% cotton fabrics, as they are heat-resistant and durable
- Choose fabrics with similar weights and textures for a balanced feel
- Consider the color wheel when pairing prints or solids:
Color Combination Example Complementary Blue and orange Analogous Green and blue-green Monochromatic Light pink and dark pink
Joining the Two Sides
Once you’ve selected your fabrics, it’s time to join them together:
- Place the two fabric pieces right sides together and pin around the edges.
- Sew around the perimeter, leaving a small opening for turning.
- Clip the corners and turn the potholder right side out through the opening.
- Press the edges flat, tucking in the seam allowance at the opening.
- Topstitch around the entire potholder, about 1/4 inch from the edge, closing the opening and adding a decorative touch. Consider using a contrasting thread color for the top-stitching to make it pop.
“I love making double-sided potholders because they’re like two potholders in one! It’s so fun to mix and match fabrics to create unique designs.”
With this double-sided potholder pattern, you’ll have a functional and stylish addition to your kitchen. It showcases your creativity and sewing skills.
DIY Potholders as Thoughtful Handmade Gifts
Handmade potholders are perfect for personalized gifts. They are both useful and beautiful, making them great for many occasions. They’re perfect for housewarming parties, bridal showers, and more.
Making potholders is fun because you can show off the person’s style. You can choose from many designs, like classic squares or upcycled denim. Your loved ones will love and use them.
Customizing potholders is a big part of their charm. You can pick colors and patterns that match the person’s kitchen. This makes the gift even more special and meaningful.
“The best gifts come from the heart, not the store.” – Sarah Dessen
Handmade potholders are also great hostess gifts. Giving them to a host at a dinner party shows you care. It adds a personal touch to the event.
So, if you’re looking for a unique gift, try making DIY potholders. Your friends and family will love the effort and love you put into them.
Tips for Personalizing Your Potholders
Adding a personal touch to your handmade potholders makes them special. They become more than just items; they become meaningful gifts or personal treasures. Here are some tips to make your potholders truly unique.
Adding Monograms or Initials
Adding monograms or initials is a simple way to personalize your potholders. Use embroidery to stitch the letters onto the fabric for a classic look. If you’re new to embroidery, start with a simple font on scrap fabric first.
You can also use applique to create letter patches. These can be sewn or ironed onto the potholder for a textured look.
Incorporating Favorite Colors or Patterns
Make your potholders uniquely yours by using your favorite colors or patterns. Choose fabrics that show off your style, whether it’s bold or soft. Mix different patterns and textures for a customized look.
Consider using fabric scraps from special items to add meaning to your potholders.
| Personalization Technique | Materials Needed | Difficulty Level |
|---|---|---|
| Embroidery | Embroidery floss, needle, hoop | Intermediate |
| Applique | Fabric scraps, fusible web, scissors | Beginner |
| Color/Pattern Mixing | Assorted fabrics, coordinating thread | Beginner |
The best kind of potholder is the one that tells a story and reflects the maker’s personality.
By adding personal touches, your potholders become unique kitchen accessories. Feel free to try different techniques and materials until you find your style.
Caring for Your Handmade Potholders
Once you’ve made your beautiful handmade potholders, it’s key to care for them well. This ensures they last long and stay heat resistant. With a few easy washing instructions and care tips, your potholders will look and work great for years.

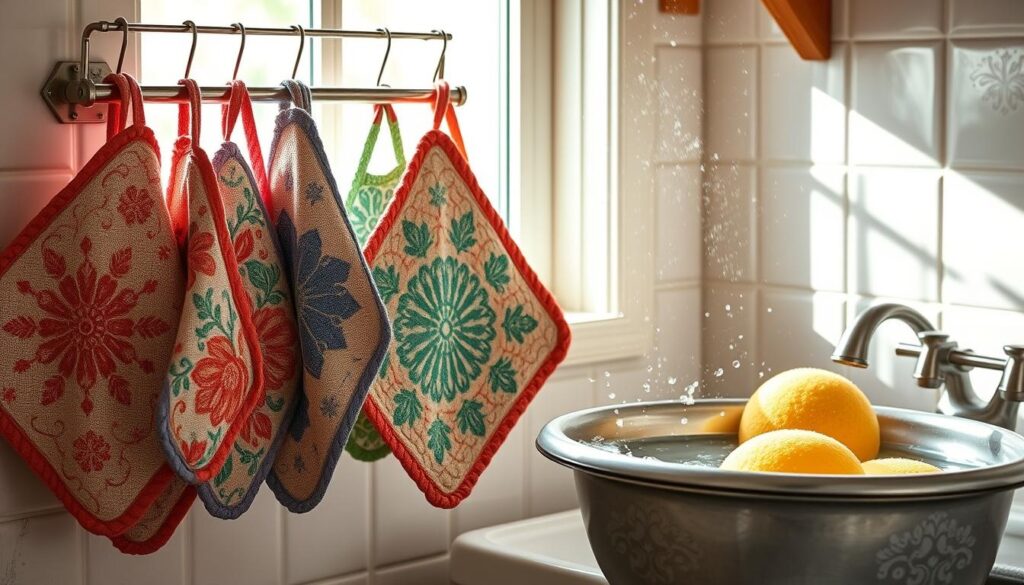
To clean your potholders, first check the care label for washing instructions. Most can be machine washed on a gentle cycle with cold water and mild detergent. Don’t use bleach or fabric softeners, as they can harm the fibers and lessen the heat resistance.
After washing, hang your potholders to air dry or tumble dry on low heat. High heat from the dryer can cause shrinkage and affect the potholder’s shape and heat resistance.
To keep your potholder in top shape, follow these tips:
- Avoid exposing your potholders to direct flames or placing them on hot surfaces for extended periods.
- Store your potholders in a cool, dry place when not in use to prevent moisture damage and mildew growth.
- Inspect your potholders regularly for signs of wear, such as frayed edges or thin spots, and replace them as needed to ensure optimal heat resistance.
By following these simple care instructions, your handmade potholders will stay functional, beautiful, and heat resistant for many years.
A well-cared-for potholder is a kitchen essential that will serve you faithfully for countless culinary adventures.
| Material | Washing Instructions | Drying Instructions |
|---|---|---|
| Cotton | Machine wash cold, gentle cycle | Air dry or tumble dry low |
| Linen | Hand wash or machine wash cold, gentle cycle | Air dry or tumble dry low |
| Wool | Hand wash cold, gentle cycle | Air dry flat |
| Silicone | Hand wash with warm, soapy water | Air dry |
Conclusion
Making your own potholders is a great way to show your creativity and learn new skills. These five simple patterns will help you make beautiful and useful potholders. They will make your kitchen feel more personal.
These handmade potholders are not just for you. They also make great gifts for your friends and family. You can add colors, patterns, or even monograms to make them special. This makes them unique and thoughtful presents.
So, get your materials ready, pick your favorite pattern, and let your creativity flow. With a bit of practice and patience, you’ll make potholders you can be proud of. You can use them in your home or give them as special, handmade gifts.
